


The Architect of Adventure: A Masterclass in Super Bear Adventure Systems
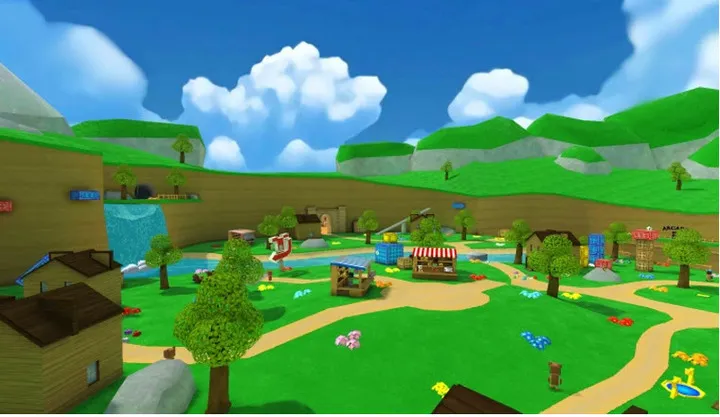
Super Bear Adventure is a 3D platformer that pays homage to the golden era of the 64-bit generation, yet it conceals a level of mechanical depth that many modern titles fail to reach. Developed by Earthkwak Games, it isn't merely a game about rescuing bears from purple bees; it is a complex simulation of momentum, environmental physics, and technical platforming. To truly master the game, one must look past the vibrant, low-poly aesthetics and engage with the "How-To" of its core engine. This guide is designed to take you through the technical evolution of a player, from basic movement to the frame-perfect execution required for 100% completion and world-record speedrunning.
1. How to Master the Kinetic Foundations: Momentum and Velocity
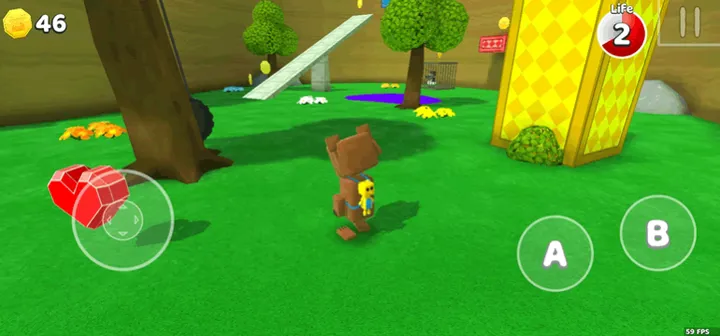
The fundamental "How-To" of Super Bear Adventure begins with the physics of the Bear himself. Unlike rigid platformers, this game utilizes an acceleration-based movement model. When you tilt the joystick, the Bear doesn't instantly hit top speed; he builds momentum. Mastering this involves understanding the "Turn-Radius Friction." If you attempt a sharp 180-degree turn at full sprint, the Bear will enter a sliding animation. To bypass this, expert players utilize the "Jump-Turn" method—jumping into the air and reorienting the Bear mid-flight to preserve horizontal velocity upon landing.
Beyond basic running, the most critical movement tech is the "Long Jump." By crouching while at maximum sprint and immediately hitting the jump button, you convert your forward momentum into a low-profile, high-velocity leap. This is the primary tool for clearing gaps that seem mathematically impossible. To optimize this, you must time the jump at the very last frame of the ledge to maximize the "Coyote Time" provided by the game's engine, allowing for a few extra pixels of distance that are crucial in the later, more demanding biomes.
2. How to Execute Advanced Verticality: The Triple Jump and Wall-Kick
Vertical progression is the vertical spine of the game's level design. While a single jump is sufficient for small obstacles, the "Triple Jump" is a rhythmic mechanic that requires precise timing. The "How-To" here is about the interval: your second jump must occur within a specific window after the first landing, and the third must follow even faster. The height of the third jump is significantly higher than the first two, making it the only way to reach certain high-altitude collectibles without environmental aids.
Technical Verticality Tactics
- The Wall-Kick Reset: When you hit a wall mid-air, you can jump again to push off. However, if you combine this with a dive, you can actually gain height relative to your initial impact point.
- Crouch-Jumping: Useful for tight spaces where a full jump would hit a ceiling, allowing for precise movement in the cramped tunnels of the Hive.
- The Dive Recovery: Diving mid-air extends your airtime. By jumping immediately upon hitting the ground after a dive, you perform a "Roll-Out," which maintains your speed and allows for an instant secondary jump.
3. How to Navigate the Snow Valley: Friction and Ice Mechanics
As you progress into the Snow Valley, the game introduces a drastic change in "Surface Physics." Ice tiles have a significantly lower friction coefficient, meaning your stopping distance is tripled. To navigate this safely, you must learn "Counter-Steering." By tapping the joystick in the opposite direction of your slide, you can manually stabilize the Bear's center of gravity. This is particularly vital when navigating the narrow icy bridges leading to the valley's hidden bear cages.
The Snow Valley also introduces the "Swimming Physics" in the freezing lakes. The Bear has a buoyancy meter and an oxygen bar. To swim efficiently, you shouldn't just spam the jump button; instead, time your strokes to the Bear's limb animations. This "Synchronized Swimming" tech allows you to move 20% faster underwater, which is often the difference between reaching a submerged secret and drowning. Additionally, jumping out of the water provides a "Dolphin Leap" boost that can be used to reach docks that are otherwise too high to climb.
4. How to Optimize the Desert Oasis: Heat Hazards and Sand Physics
The Desert Oasis is a masterclass in environmental hazards. The "Sinking Sand" mechanic acts as a slow-acting gravity well. If you stand still, you sink; however, the "How-To" for surviving sand is constant "Jump-Buffering." By constantly jumping, you prevent the sinking animation from ever triggering its second stage, which normally locks your movement. This allows you to traverse large sand pits that would otherwise require the use of moving platforms.
Desert Hazard Management
- Shadow Management: Staying in the shade of palm trees or ruins actually prevents "Heat Decay" in specific challenge modes.
- Cactus Hitboxes: The hitbox of a cactus is slightly larger than its visual model. Always give these obstacles a two-pixel buffer to avoid unnecessary damage.
- The Sphinx Puzzle: Solving this requires "Spatial Sequencing"—memorizing the light patterns on the floor. Use your first-person camera mode (available in settings) to get a top-down perspective on the grid.
5. How to Conquer the Forest and Graveyard: LoS and Stealth
In the Forest and Graveyard biomes, the AI of the enemies becomes significantly more aggressive. The "Purple Bees" and "Ghost Guardians" utilize "Line of Sight" (LoS) detection. To avoid combat and save time, you must master "Obstacle Occlusion." By keeping a tree or a gravestone directly between the Bear and the enemy's head, you can bypass entire encounters. If spotted, the AI will follow a "Predictive Path"—they don't move toward where you are, but where you were one second ago.
Stealth and Aggro Tactics
- The Bait-and-Switch: Lead an enemy toward a ledge, then use a Long Jump to clear the gap. The AI often cannot compute the jump and will fall into the abyss, removing the threat permanently.
- Invisible Platforms: In the Graveyard, certain platforms only appear when the Bear is within a 5-meter radius. Use the "Coin Trail" as a guide; coins are often placed on these invisible surfaces to act as a breadcrumb path for the player.
6. How to Master the Hive: 3D Navigation and Flight Controls
The Hive is the most technically demanding biome in Super Bear Adventure because it forces the player to think in three dimensions. The narrow corridors and vertical shafts require a mastery of "Camera Panning." You should never play with a static camera here; instead, use the right joystick to constantly look "above" the Bear. This allows you to spot dropping enemies and hidden honey-collectors before they enter your immediate vicinity.
The Hive also features "Wind Tunnels." These areas apply a constant force vector to the Bear. The "How-To" for fighting wind is the "Dive-Toggle." By diving, you reduce your surface area and increase your weight, allowing you to push through strong winds that would otherwise blow a jumping Bear backward. Furthermore, the Hive’s boss requires "Projectile Redirection"—you must time your attack to hit the boss's stingers exactly as they reach their maximum extension, a classic "Parry" mechanic hidden in a platformer's clothing.
7. How to Farm Coins and Gems: The Economic Loop
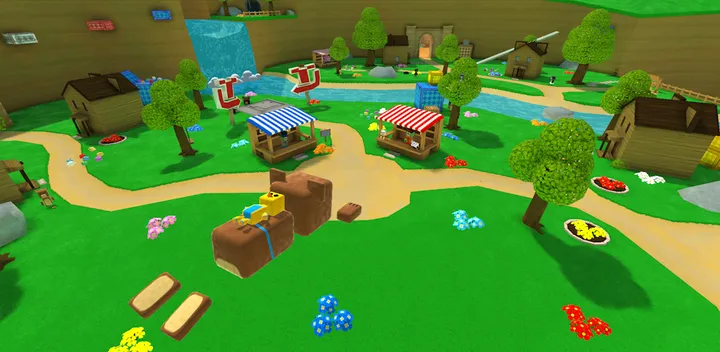
Coins and Purple Gems are the lifeblood of the game's customization and progression. To farm them efficiently, you must understand the "Coin Respawn Cycle." Coins in the overworld respawn after you leave the biome and return, but the gems found in secret areas are a one-time pick-up. Therefore, the most efficient "How-To" for wealth is "Route Optimization." Create a loop through the Snow Valley’s village, hitting all the high-density coin breakables, then use the "Warp Map" to reset the instance.
Wealth Accumulation Tips
- Breakable Logic: Always use the "Ground Pound" (jump then crouch) on crates. This ensures you collect 100% of the contents instantly, rather than waiting for them to scatter.
- Secret Locations: Most gems are hidden behind "Destructible Walls" that look like regular rock. Look for cracks or slight discolorations in the geometry.
- The Shopkeeper’s Discount: Completing specific side quests for the shopkeeper reduces the price of hats and skins, which is vital for completionists.
8. How to Defeat the Bosses: Pattern Recognition and Phase Shifting
Bosses in Super Bear Adventure are "Phase-Based." Each boss has a "Vulnerability Window" that only opens after a specific sequence of attacks. The "How-To" for bossing is "Observation over Aggression." For example, the Giant Golem in the Desert will pound the ground three times. If you jump too early, you'll be hit by the shockwave; if too late, you'll be crushed. The goal is to "Buffer" your jump so you are in the air exactly as his fist connects with the sand.
Boss Breakdown Checklist
- Golem: Focus on his feet until he kneels, then Triple Jump to hit the head jewel.
- The Bee Queen: Stay on the move to avoid the honey-slow debuff. Use the Long Jump to clear the honey puddles.
- The Final Encounter: This requires a combination of all previous skills—Wall-Kicking, Long Jumping, and Dive-Rolling—to avoid a 360-degree laser grid.
9. How to Reach 100% Completion: Secret Bears and Lore
A true master doesn't just reach the end; they save every bear. There are 100+ bears hidden throughout the world, many of which are tucked into "Negative Space"—areas underneath the map or behind the initial spawn points. The "How-To" for finding secret bears is "Camera Clipping." By rotating your camera against walls, you can occasionally see "through" the geometry to spot the purple glow of a hidden cage.
Lore is equally important. Throughout the game, there are "Stone Tablets" written in a runic language. While not required for the credits, reading these provides hints to the game's most difficult puzzles, such as the "Time Trial" in the Forest. To achieve 100%, you must also collect every hat and skin, which requires a total of roughly 15,000 coins. This is the ultimate test of a player’s dedication to the mechanical and economic systems of the game.
10. How to Speedrun: Frame-Perfect Skips and Glitch Management
For the elite, Super Bear Adventure becomes a game of speed. The "How-To" of speedrunning involves "Collision Exploitation." In several levels, the "Wall-Kick" can be used to clip through thin corners of the map, bypassing entire sections of the Snow Valley. This is known as "Corner Clipping" and requires a frame-perfect input of the jump and dive buttons simultaneously.
Another speedrun tactic is "Slope Sliding." If you land a dive on a slope with a specific angle, the game fails to apply friction, causing the Bear to accelerate to 300% of his normal speed. Controlling this "Infinite Momentum" is the hardest skill in the game, as one wrong movement will send you flying out of bounds. Mastering these glitches and skips allows a full game completion in under 30 minutes, a feat that showcases the true potential of the game's robust physics engine.